Create a Custom Club Batch
Note: Before continuing, verify all the custom club settings are configured. For additional information, please visit the vinSUITE Set Up Custom Clubs page.A new custom club batch is created and processed similarly to regular club batches.
A custom club batch can be broken down in four steps:
- Create a Custom Club Order Template
- Notify Custom Club Members
- Process Custom Club Orders
- Create Report Center reports for your custom club orders
Create a Custom Club Order Template
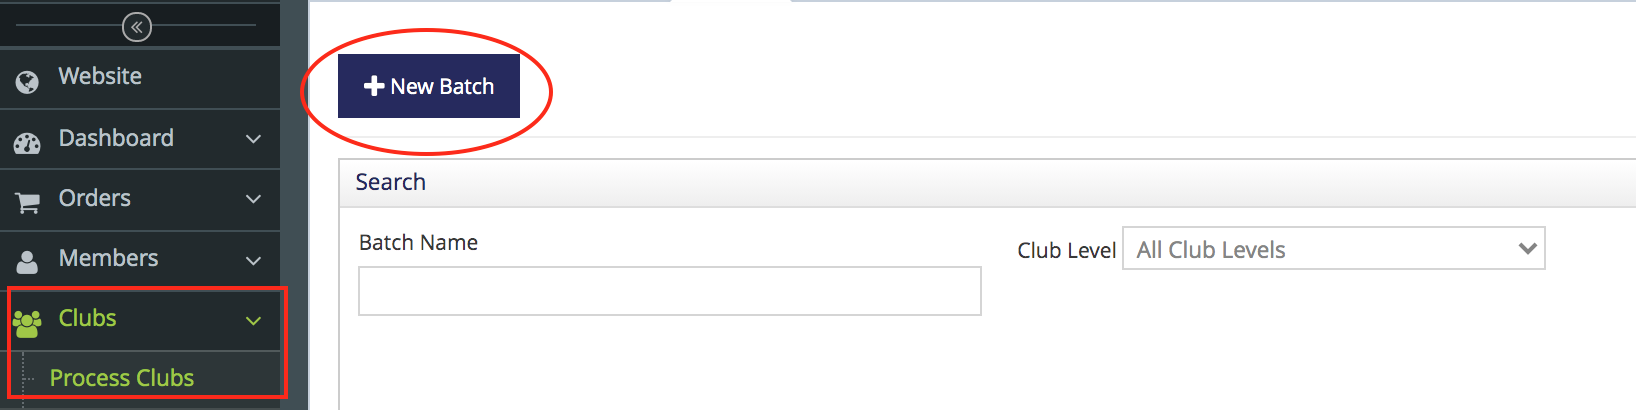
To start a new custom club batch, click on Clubs from the left hand menu to option options. Choose Process clubs to open the club processing feature and "+ New Batch" to start a new custom club batch.
Step 1: Create Batch
1. Choose a Club Batch Name and the Custom Club Batch Level
- Club Batch Name. The name can be anything you like. Best Practice here suggests that the batch name should be some combination of the club level and the date of the batch. For example; "Gold Club Spring 2021" would represent the Spring 2021 shipment for the Gold Club.
- Club Level. From the Club Level drop-down, choose the club level that you want assigned to this batch. This selection will dictate which wine club members are pulled into this batch.
2. Choose the End Hold date: club members who come off hold on this date or before will be included in the batch.
- For example, if today's date is January 1 and you choose January 1 as your End Hold date, club members who have an End Hold date of anytime since your last club run and up January 1st will be included in this batch.
3. Choose the Default Shipping Type
- Select a shipping type from the ?Default Shipping Type? drop-down box to dictate the shipping carrier to use for club members having a shipping type of "Default".
4. Choose the Fulfillment House
- Select a Fulfillment House to use for packaging/shipping of the club batch orders. For wineries that will be packaging/shipping their wines, simply use the Fulfill InHouse option.
5. Choose a Future Ship Date (if you use future ship dates)
6. Choose Begin Customization Date
- This is the first day your club members will be able to log into the site and place their orders.
7. Choose End Customization Date
- This is the end of your customization window. Enter the date AFTER you want your batch to close. (The expiration begins at midnight.)
8. Minimum Order Subtotal
- This is the minimum dollar amount Custom Club members are required to spend for their entire order. This minimum must be met in addition to the minimum bottle total.
9. Minimum Bottle Total
- This is the minimum number of bottles Custom Club members are required to buy. This minimum must be met in addition to the minimum dollar amount.
5. Click Save and go to next step
Step 2: Custom Order Template
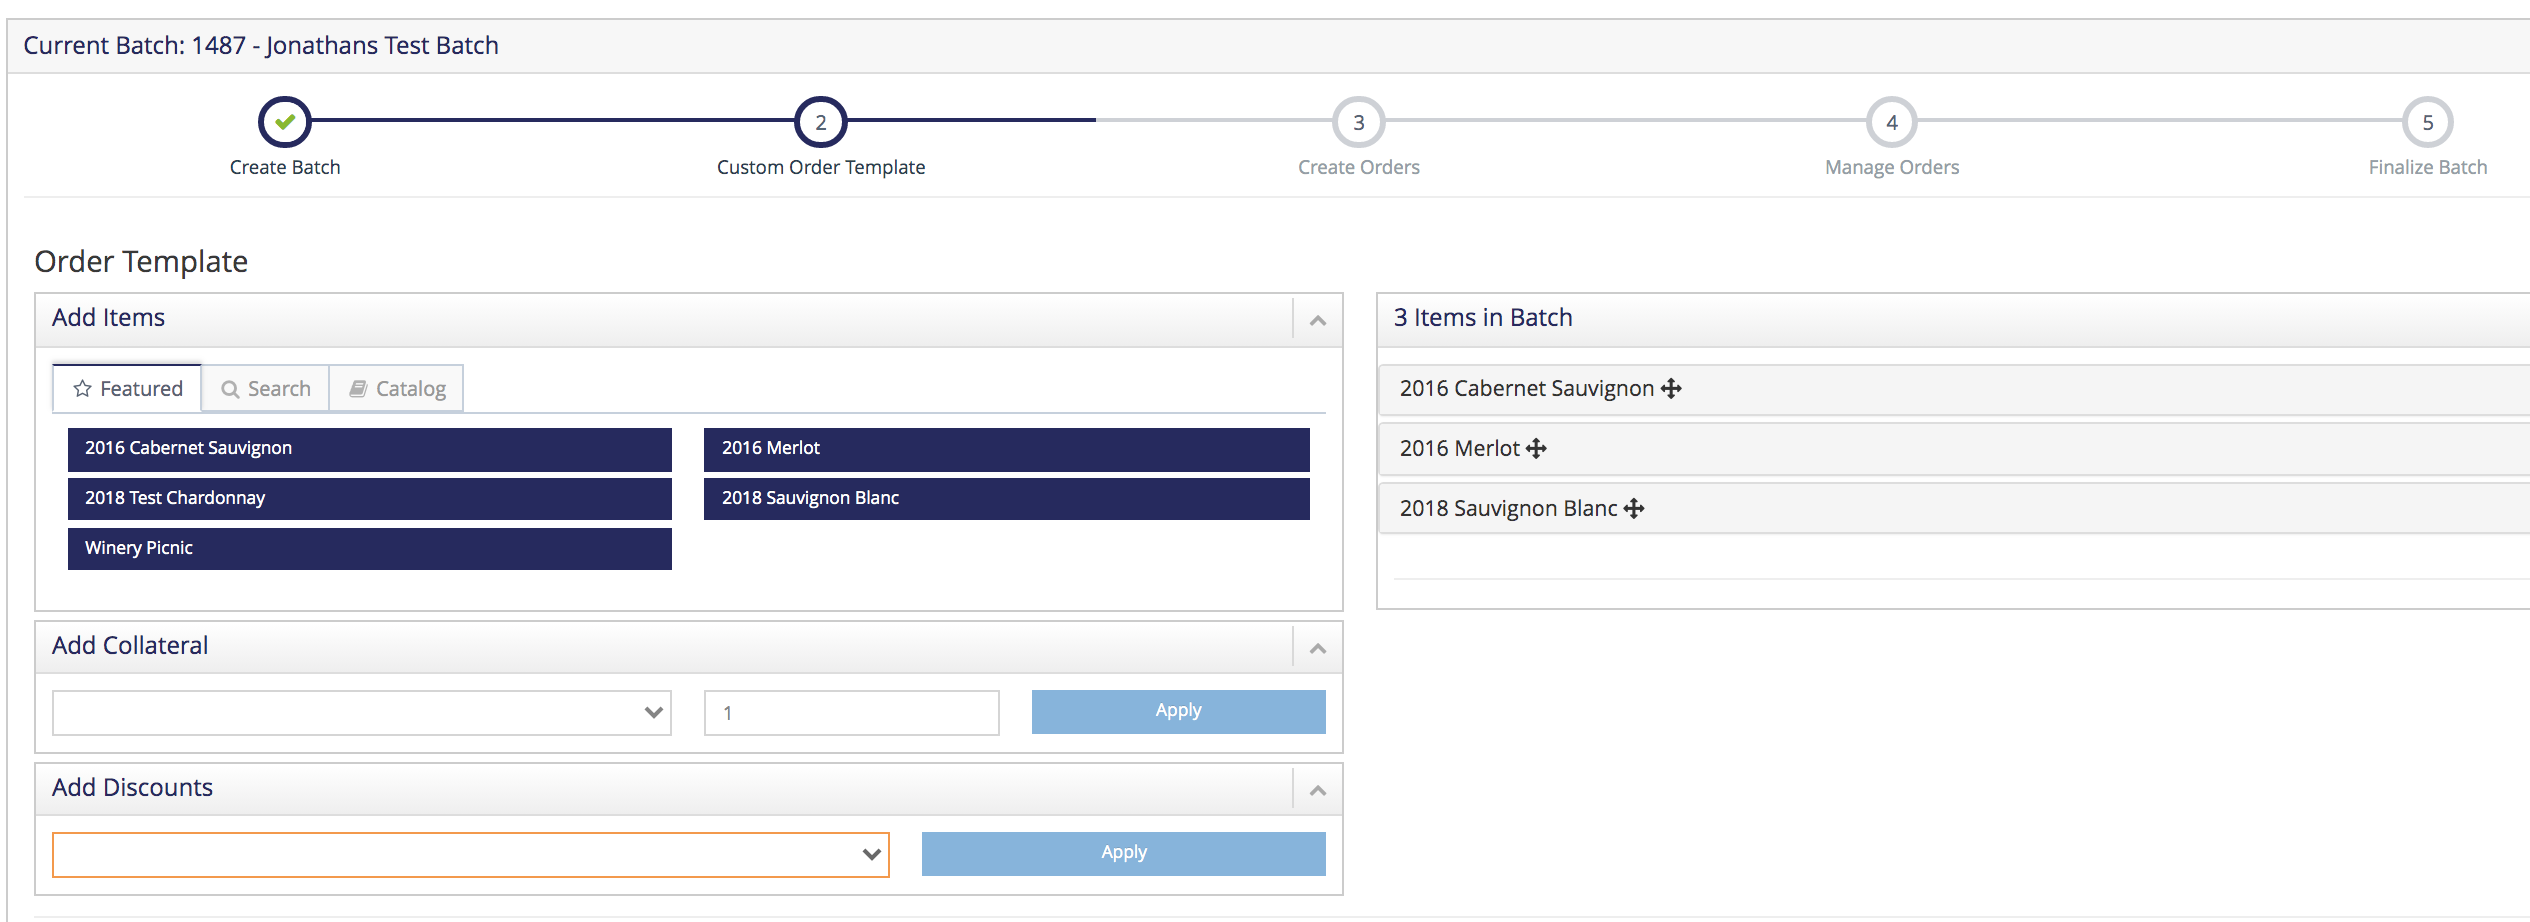
1. Add Items
- Using the Featured, Search, and Catalog tabs, find the wines you wish to have in your Custom Club batch.
- Featured: wine and non-wine products marked as featured can be easily added to Allocation
- Search: enter terms to search for desired product
- Catalog: Select Product Type and select product from dropdown
- Once selected, click Add to add wines to the Items in Batch section on the right.
- Choose Collateral items from the dropdown and Apply to add to the batch.
- Choose your Club Discount from the dropdown and Apply to add to the batch.
2. Items in Batch
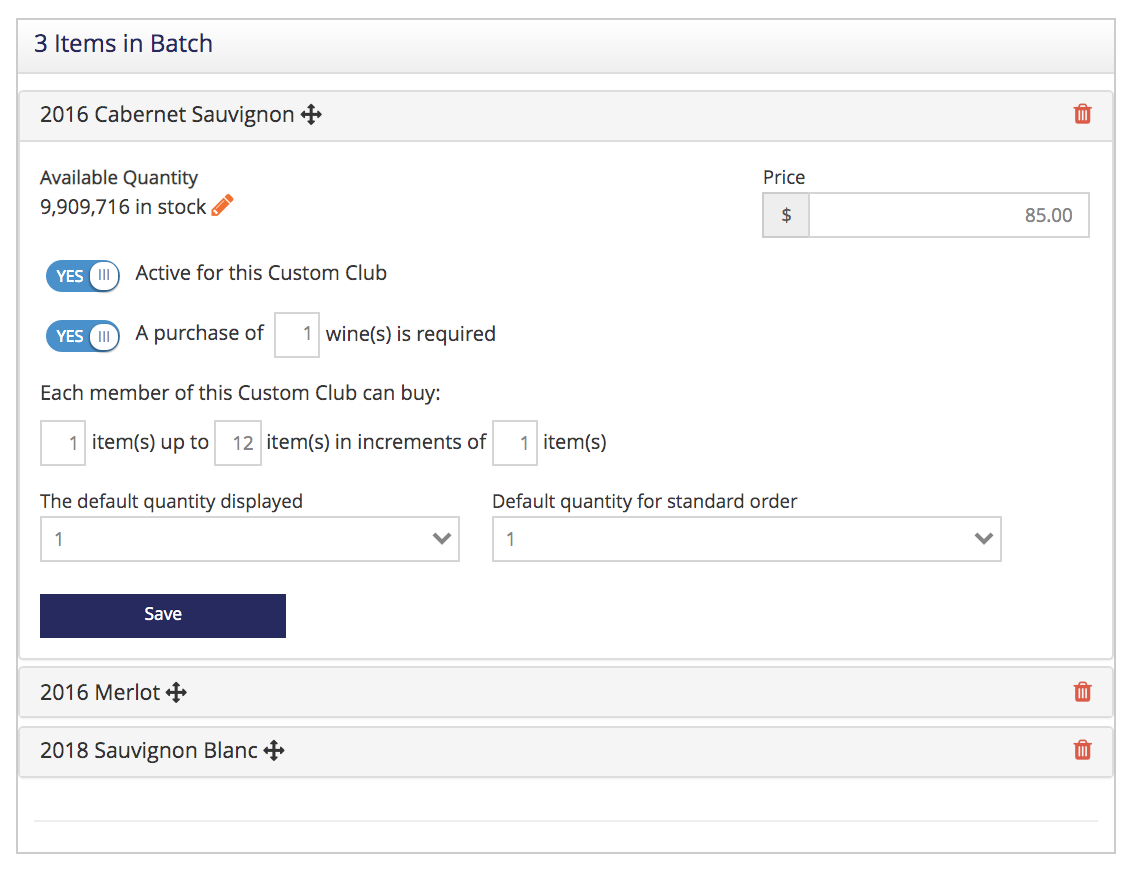
- Click on wine name to expand and see options for this wine.
- Available Inventory: click edit pencil to go to the Inventory tab of this wine
- Active: toggle to YES if wine should be active for this allocation
- "A purchase of this item is required": toggle to YES if member must purchase this with their order
- "Each member of this Custom Club can buy": enter minimum and maximum quantities and in what increments they should be sold
- "The default quantity selected": enter the quantity that should display as the starting quantity on the Selections page
- "Default quantity for standard order" By setting up a standard order, you can determine which products get sent to club members if they do not to log into your website and modify their custom club order.
- Standard Order: The generic order a club member will receive if they do not customize their order on your website.
- Default Quantity for Standard Order: The quantity added to a standard order.
- SAVE each product after details have been entered
- SAVE the template for use as a base for future batches.
- Building a template with all of your wines will greatly reduce your set up time for future batches. Simply activate the wines in your new batch and let the others can remain inactive.
- If using a saved template, you must open and edit each wine to activate, set the details, and save so that the product populates orders in the batch.