Add a New Product
Note: Before continuing, verify all the Product Settings are configured. For additional information, please visit the Setting Up Products page.
Best Practice: If you are using either ShipCompliant and/or vinSUITE Desktop POS, confirm that the product has been setup in the appropriate platforms before placing any orders. This will ensure that the product can flow smoothly from the POS to vinSUITE and from vinSUITE to ShipCompliant.
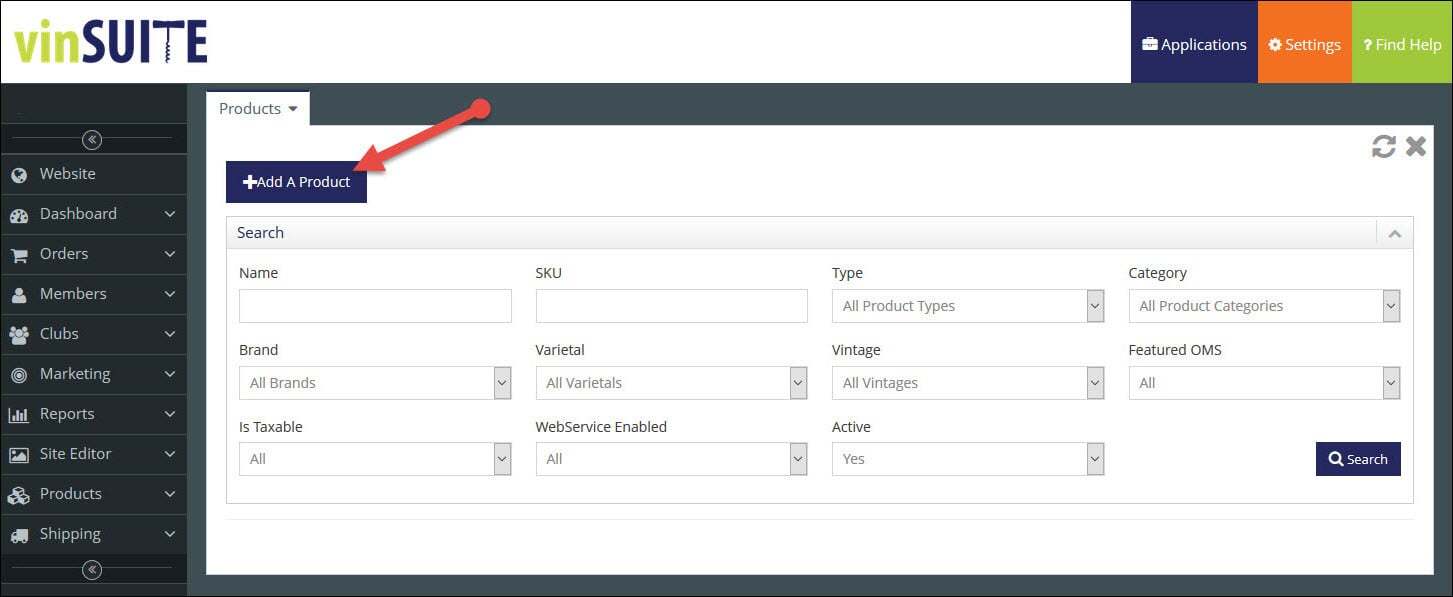
1) In the vinSUITE admin panel, expand the 'Products' section in the left hand navigation, then click 'Products' from the sub menu. This will open the Products tab where you can search for existing products or add a new one.

2) From the Products search screen, click the ?Add A Product? button.
3) Select a Product Type from the drop-down menu, name the Product and click the 'Save' button.
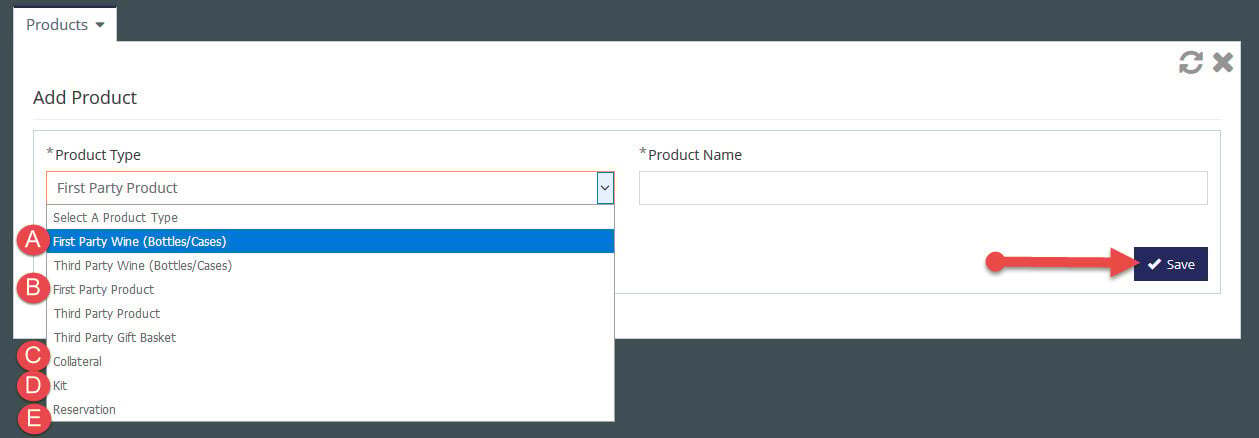
First Party Wine | A wine product that is produced at your winery Example: Wine Bottles and Cases

- First Party Product
A non-wine product that is distributed from your winery
Example: Bottle Openers, Wine Glasses, Shirts, Winery Merchandise

- Collateral
An extra item that accompanies a product or a club batch, but does not add money to the order
Example: Brochures, Postcards

- Kit
A single SKU that includes multiple items to be sold as a package.
Example: A package with 3 bottles of red wine and one bottle opener all sold and packaged together in a gift set

- Reservation
- CellarPass Integration
4) The next screen will depend on the product type selected. Click on the links below for further instructions.
Add a First Party Wine Product
Tip: What's the difference between a First Party Product and a First Party Wine? A First Party Wine Product is usually a wine product (wine bottles, wine case) that is directly produced and controlled by the winery. A First Party Product is other merchandise (t-shirts, wine accessories, etc.) that are sold by the winery.
5) Once you have entered the information and saved the appropriate pages, you can return to general 'Products' page. From there, you can locate your product utilizing a number of search filters.
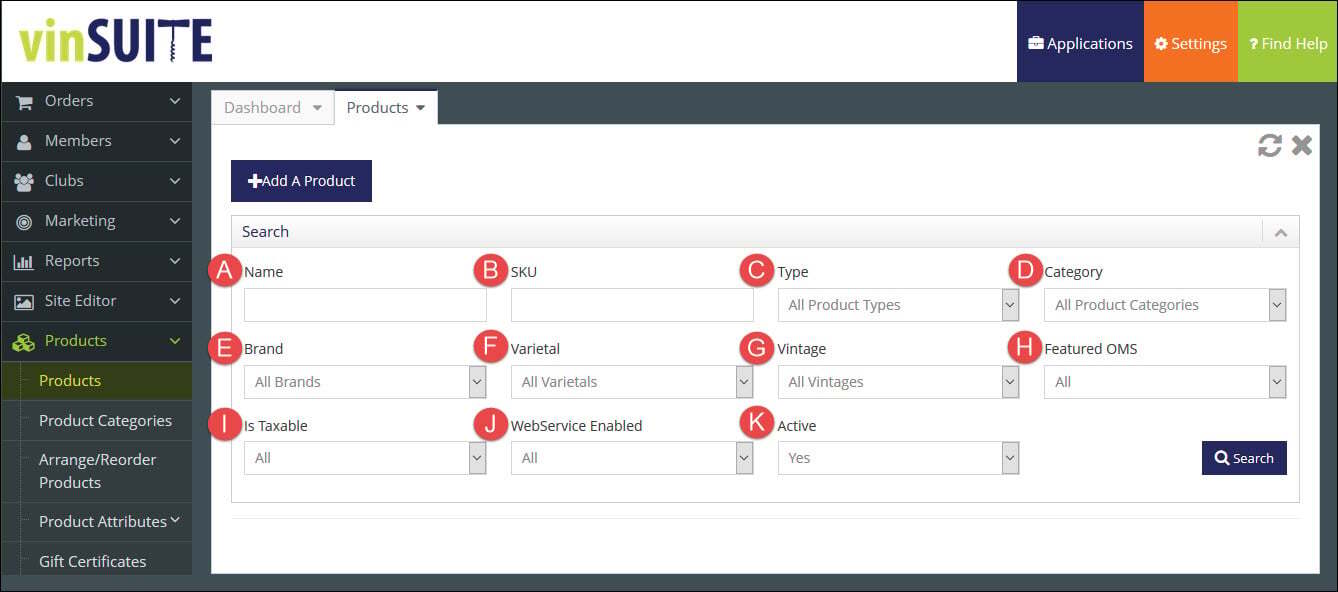
Name | Enter the name of a Product.

- SKU
- Enter the Stock Keeping Unit (SKU) for a Product.

- Type
Select the Product Type from the drop-down menu.

- Category
Select the Product Category from the drop-down menu.
Note: If All Product Categories is chosen, all of the Products will be displayed, whether a Product is in a Category or not.
This list is able to be edited by vinSUITE admin users. For more information, please visit the vinSUITE Product Categories page.

- Brand
Select a Brand from the drop-down menu.
Note: This list is able to be edited by vinSUITE admin users. For more information, please visit the vinSUITE Product Attributes page.

- Varietal
Select the Varietal from the drop-down menu.
Note: This list is able to be edited by vinSUITE admin users. For more information, please visit the vinSUITE Product Attributes page.

- Vintage
- Select a Vintage for the product from the drop-down menu.

- Featured OMS
Select an option based on if the product is featured in the vinSUITE Order Management System.
Note: You can verify if a product is featured by checking the bottom of the screen in Products > Edit Products > Categories tab.

- Is Taxable
- Select an option based on if the product is taxable.

- WebService Enabled
Select an option based on if the product has WebService enabled.
Note: It is highly recommended that all products have WebService enabled, so third party platforms (like ShipCompliant or TabletPOS) can access the product.

- Active
- Select an option based on if the product is active.
6) Browse over the appropriate search result and click one of the action icons to edit the product.
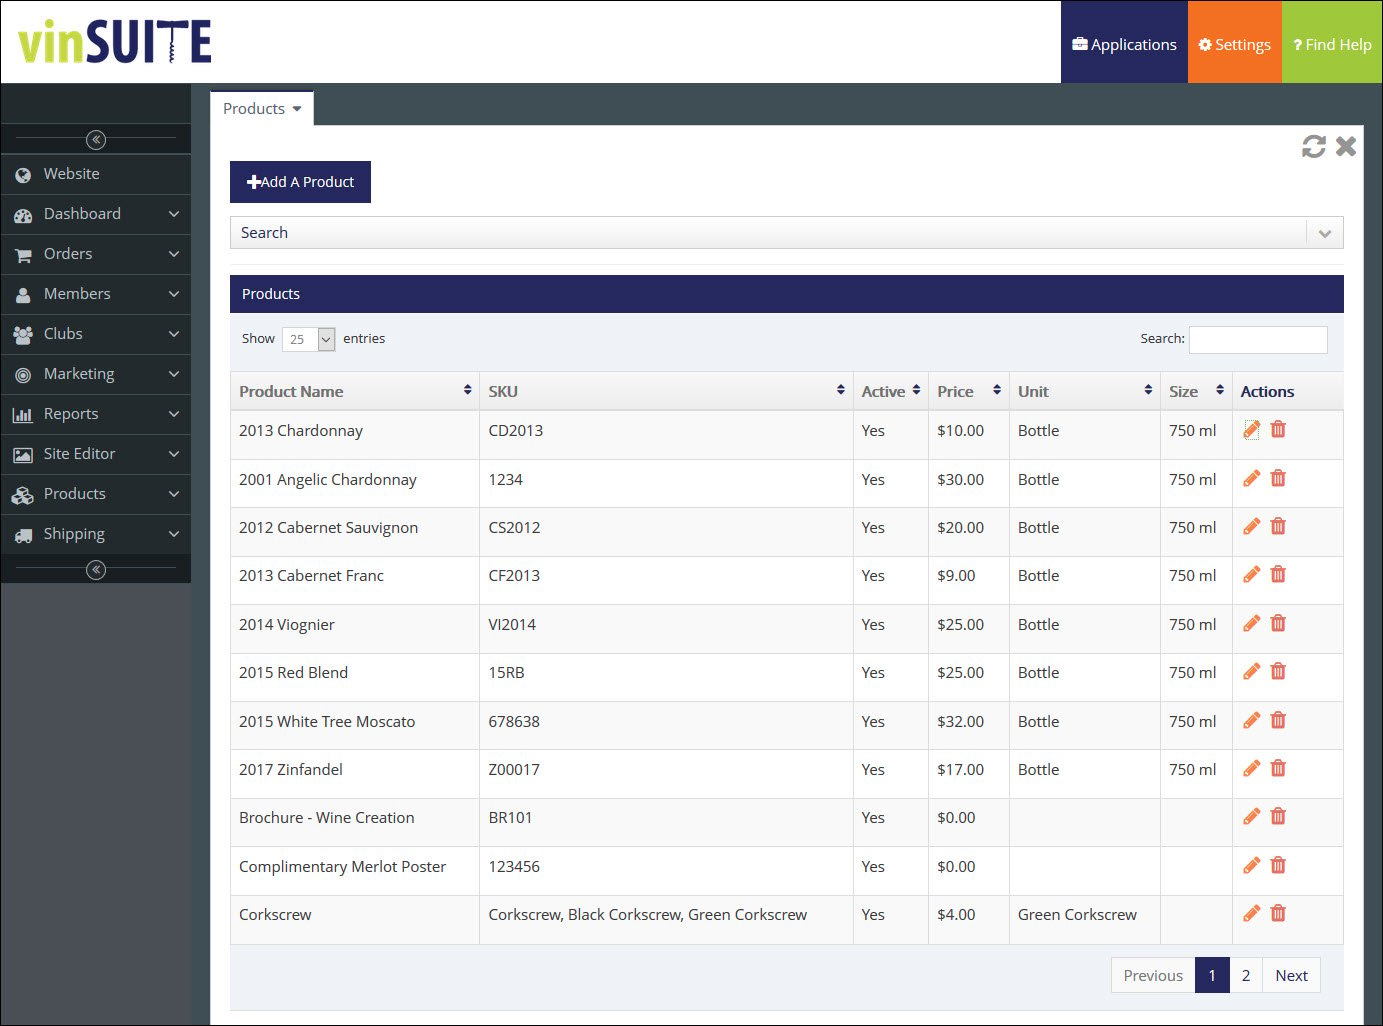
Click the 'Pencil' icon to edit a product. Note: The edit screen will depend on the product type selected.

Click the 'Trashcan' icon to deactivate a product.
Note: Products cannot be deleted, only deactivated, to preserve order history records.